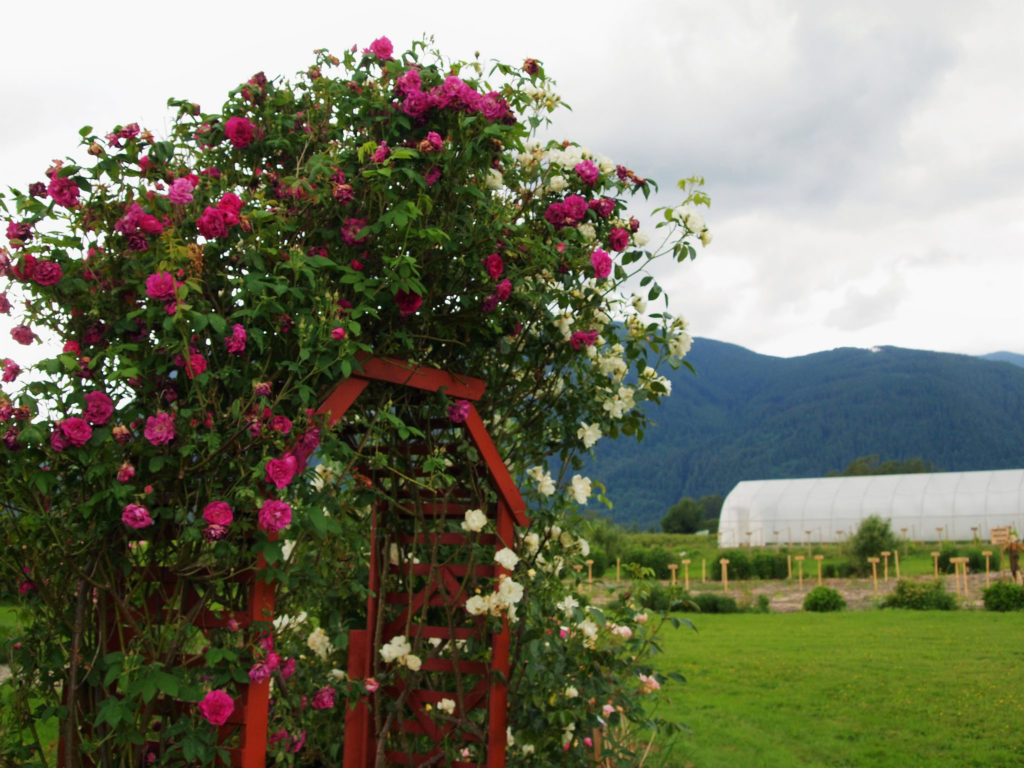
I would need a fast-forward button to improve my skills at garden design. I could hold the button, and the years would zoom by to show me the eventual size and scale of the trees, shrubs and perennials I’m planting. Somehow, my imagination isn’t adequate to the job. One example of this is in the cedar arbors we installed on either end of our rose garden:
Above pictured are the quite lovely roses ‘Amadis’ (a thornless pink climber) and ‘City of York’ (a thorny beast on the other side of the archway). I guess I knew that they could exceed the height of the arbor when I planted them, but without that fast forward button, I don’t think I grasped quite how out of scale the little wooden structure would look. Quite aside from the looks of it, there then came the stability problems. We tried to shore up the arbors with heavy landscape posts dug in beside them, but under the weight of the plant growth and the ongoing assault of the winds, the structure is struggling to keep standing.
So, my wish-list for replacing them:
- larger – enough to drive our ride-on lawnmower through, and tall enough to support a 12′ climbing rose
- stronger – dug into the ground deep enough to support itself against strong South (summer) and East (winter) winds
- long-lasting – if I use wood, our wet climate will put it at jeopardy of rot. I don’t want to rebuild them any time soon!
- affordable
A bit of online shopping left me no further ahead. There are plenty of metal or vinyl arbors, but they aren’t much different in size to what I have already. They would also face the same issues of anchoring them into position against our persistent winds. To buy a pair of anything nearly suitable was at the very top end of our budget – without exactly meeting our needs.
Our eventual solution was to build our own, and this video documents our efforts:
The supply list in detail:
13 x black top fence rail (10ft by 1 3/8″) approx. $26 ea. = $338
4 x galvanized top fence rail (10ft by 1 3/8″) approx. $20 ea.= $80
1x 1 liter can of black gloss paint for metal = $20
20x 2″by 5/8″ carriage bolt, nuts, & washers = $15
8x bags of quick concrete mix approx $8 each = $64
2x new drill bits = $20
Total budget: approx. $537 for both arbors
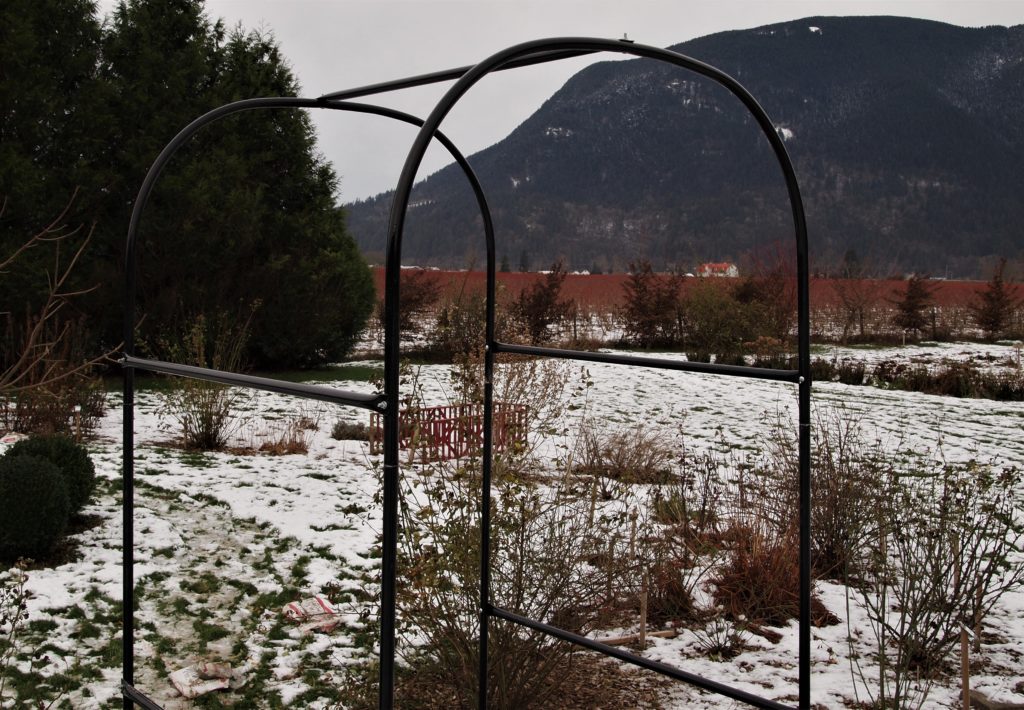
Here is the front one finished (with the old one flat down in the background):
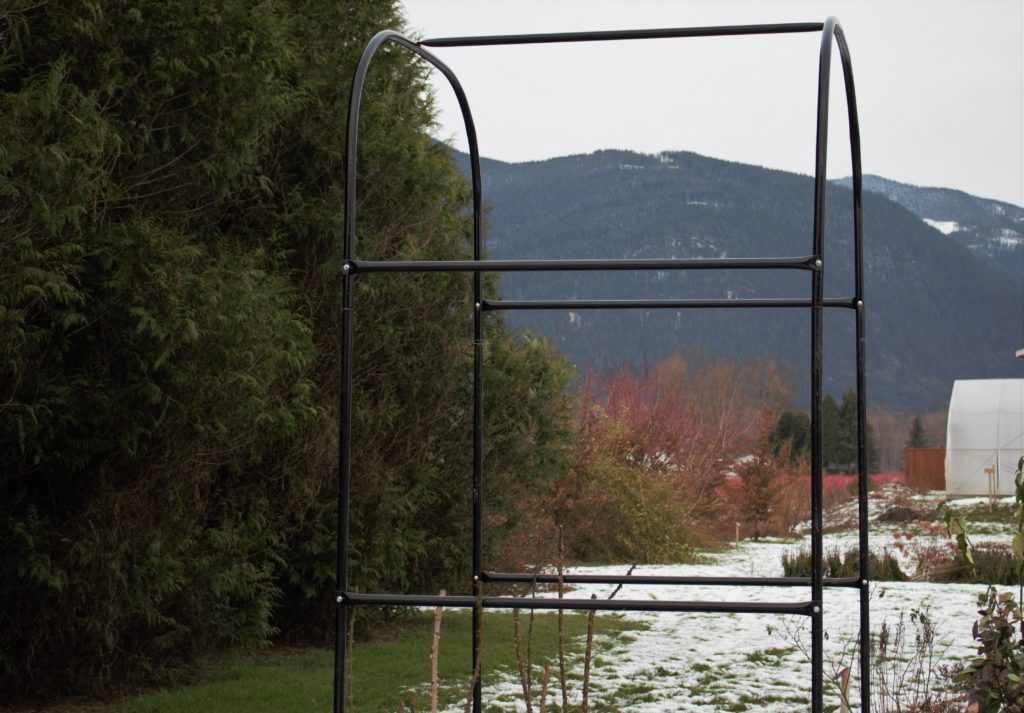
And here’s the back one:
The total height of each arch (above ground) is around 10.5 ft. Additionally, there’s about 3.5 ft of the support posts sunk into the holes and held down with concrete.
Most everything went smoothly, and I’m pleased with the results. They actually look a little larger than I anticipated, but this time I think they’ll be in proper scale with the climbing roses, so it’s just going to take a little time until they’re grown over and blend better with the landscape.
The only difficulty I really had was with the drilling (which took a lot longer than I thought it would) and I also had to accept that there would be imperfections along the way – everything is built, cut, bent, drilled and painted by hand. There are flaws that (I hope) are only visible to me, and will, in any case, be pretty hard to spot once the roses grow over.
One last note that I would make is that the large size of my arbors really did determine the budget. If you scaled down the cross bars to 3 1/3 ft (down from 5), and reduced the height / buried portion, you could easily get the budget down below $200 per arbor.
As for the time involved, it took me about 2 weeks from start to finish – not full-time, of course, but evening hours and weekend days. The most time consuming part was the drilling (2 to 3 evenings) and painting of the arches (2 evenings). The project happily wrapped up on Christmas eve, just in time to clean my work area before having holiday guests over!


